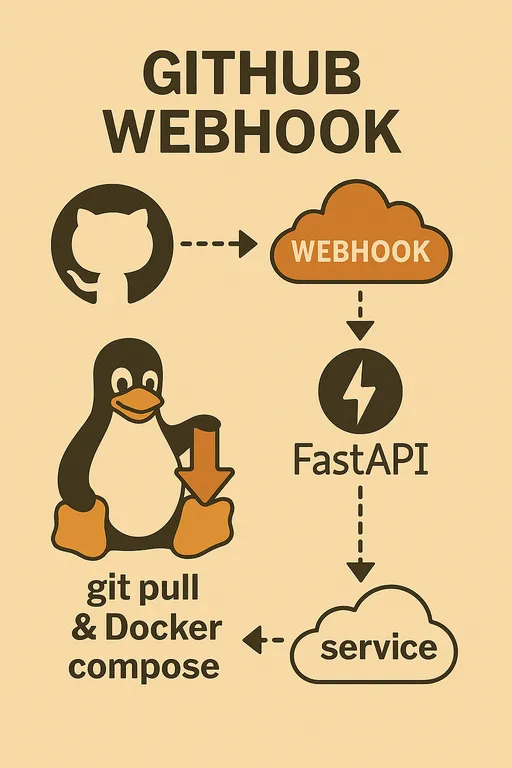
Hello! Are you following the series on building an automated deployment system using GitHub Webhooks? As mentioned in Part 3, Docker plays a crucial role in our CI/CD pipeline.
This article provides a detailed step-by-step guide for those who haven't installed Docker on their server yet, specifically focusing on installing Docker Engine and Docker Compose on an Ubuntu server.

1. Remove Previous Versions (Optional)
If you have previously installed an unofficial version of Docker, it's a good idea to start fresh by removing it completely. Run the command below to get rid of any existing packages that might cause conflicts.
sudo apt-get remove --purge docker docker-engine docker.io containerd runc docker-compose
If you have no important data and want a clean start, it is recommended to completely eliminate any traces of the previous Docker installation.
sudo rm -rf /var/lib/docker
sudo rm -rf /var/lib/containerd
- Note: This command will delete all containers and image data, so please back up any important data first.
2. Set Up Docker Official Repository
To reliably install the latest version of Docker, we need to set up the official APT repository.
# Update apt package index
sudo apt-get update

# Install packages to set up the Docker official repository
sudo apt-get install \
    ca-certificates \
    curl \
    gnupg \
    lsb-release

# Add Docker's official GPG key
sudo mkdir -p /etc/apt/keyrings
curl -fsSL https://download.docker.com/linux/ubuntu/gpg | sudo gpg --dearmor -o /etc/apt/keyrings/docker.gpg

# Add Docker repository to APT sources
echo \
  "deb [arch=$(dpkg --print-architecture) signed-by=/etc/apt/keyrings/docker.gpg] https://download.docker.com/linux/ubuntu \
  $(lsb_release -cs) stable" | sudo tee /etc/apt/sources.list.d/docker.list > /dev/null

# Activate Docker APT repository
sudo apt-get update
3. Install Docker Engine
Now we will install Docker Engine and related tools.
sudo apt install docker-ce docker-ce-cli containerd.io docker-buildx-plugin docker-compose-plugin
The above command installs Docker Engine, CLI tools, container runtime (containerd.io), and Docker Compose as plugins.
4. Verify Docker Installation
To check if the installation is complete, run the hello-world container. This command serves as a simple test to verify that Docker is working correctly.
sudo docker run hello-world
If the message "Hello from Docker!" appears, Docker Engine has been installed successfully.
5. Using Docker Commands Without sudo (Required)
By default, you need to use sudo to run Docker commands. However, in our automated deployment system, we need to run docker as a regular user under the systemd service, so we must configure permissions to allow using docker commands without sudo.
- Add the current user to the
dockergroup.
sudo usermod -aG docker $USER
-
To apply the changes, make sure to log out and log back in.
-
After re-logging in, verify that the command
docker run hello-worldworks withoutsudo.
6. Verify Docker Compose Installation
Since we installed docker-compose-plugin, no additional installation steps are necessary. Run the following command to check if docker compose is correctly installed.
docker compose version
If you see a message like "Docker Compose version v2.x.x", you are all set.
7. Conclusion
Your server now has both Docker and Docker Compose installed. Feel free to close this article and return to our main series, Building Your Own Automated Deployment System Using GitHub Webhooks (Part 3), to proceed to the next steps. A wonderful experience of containerizing your project and automating deployments awaits you through Docker!


There are no comments.