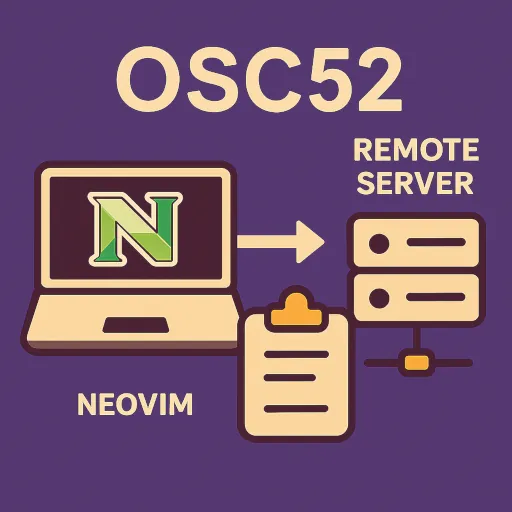
One of the inconveniences of using Neovim on a remote server was the clipboard. While it's simple to set up in a local environment using only Neovim's configuration and xclip, it's challenging to access the local PC's clipboard when working on a remote server via SSH. Here's a neat solution I found after several trials.
Environment and Requirements

-
Remote Server: Ubuntu-based server
-
Local PC: Ubuntu-based GUI environment
-
Neovim installed (explained based on init.lua configuration).
Step 1: Install xclip on the Remote Server
First, install xclip on the remote server with the following command.
sudo apt install xclip
This package is needed for Neovim to interact with the system clipboard.
Step 2: Set Up the OSC52 Protocol
OSC52 is a protocol that allows direct transmission of content to the local clipboard through an SSH connection. To use it in Neovim, you need to install a plugin.
- Add to Neovim configuration file (
init.lua):
{
    'ojroques/nvim-osc52',
    config = function()
        require('osc52').setup()
        local function copy()
            if vim.v.event.operator == 'y' and vim.v.event.regname == '+' then
                require('osc52').copy_register('+')
            end
        end
        vim.api.nvim_create_autocmd('TextYankPost', {callback = copy})
    end
},
This setting automatically sends copied text from Neovim to the local clipboard via the OSC52 protocol.
Step 3: Configure the SSH Server
You need to enable the X11Forwarding option in the SSH daemon configuration on the remote server for OSC52 to work correctly.
Open the /etc/ssh/sshd_config file and check or add the following settings.
AllowTcpForwarding yes
X11Forwarding yes
After making the changes, restart the SSH daemon.
sudo systemctl restart sshd
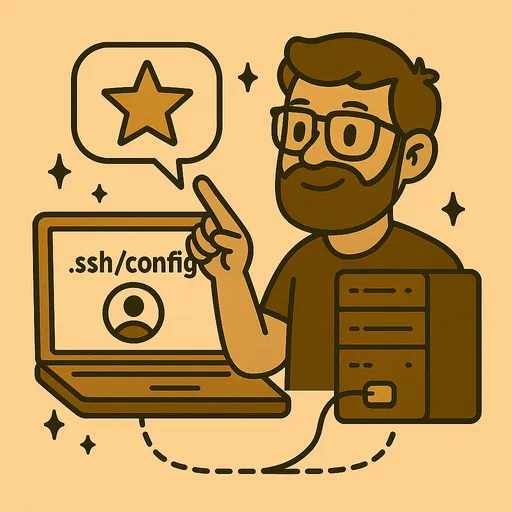
Step 4: Configure the Local SSH Client
When accessing the server via SSH from your local PC, you need to enable X11 Forwarding. You can do this by adding to your SSH configuration file.
~/.ssh/config file:
Host myserver
    HostName server-address.com
    User myuser
    ForwardX11 yes
    Port 2222
    IdentityFile ~/.ssh/id_rsa
Now you can simply use the command ssh myserver to connect via SSH.
Step 5: Configure Neovim Clipboard Options
Finally, set up Neovim to use the clipboard. Add to your init.lua file.
vim.o.clipboard = 'unnamedplus'
How to Use
Now that all settings are complete, when you copy text in Neovim, simply select the area in Visual Mode (v) and press the y key, and the copied content will automatically be saved to the local PC's clipboard.
You can now paste the content copied from Neovim on the remote server directly into your local browser or notepad.
While the process felt complicated at first, once set up, it becomes very convenient. If you frequently use remote development environments, I highly recommend configuring this.


There are no comments.