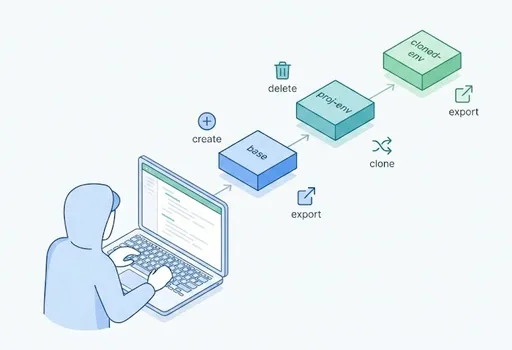
When creating a virtual environment in Python, you often use python -m venv. However, there is also a powerful environment management tool widely used in data science and artificial intelligence called Conda. Conda helps manage both packages and environments effectively.
In this article, we will explore the concept of Conda, the differences between Anaconda and Miniconda, and how Conda environments operate separately from the system.
1. What is Conda?
Conda is a package and environment manager widely used in data science, artificial intelligence, and machine learning fields. Originally developed for Python, it now supports various languages, including R, Ruby, and Lua.
With Conda, you can efficiently perform tasks such as:
- Installing and managing multiple packages at once
- Creating operating system-independent virtual environments
- Maintaining different Python versions for each project
Related Terminology
- Conda Environment (environment): A virtual environment with an independent package space
- conda-forge: A package repository maintained by the Conda community
- Anaconda: A distribution that comes pre-installed with popular data science packages (Numpy, Pandas, Jupyter, etc.) including Conda
- Miniconda: A minimal installation distribution that only includes Conda, allowing you to choose and install the packages you need
2. Why Choose Conda? Comparison with python -m venv
The Python standard library includes a tool for creating virtual environments called venv. Nevertheless, here are the reasons why Conda is preferred in the data science field:
venvonly manages Python packages, whereas Conda can also manage non-Python dependencies (C, C++, CUDA, etc.)- Conda excels at resolving package version conflicts and automatically configures binaries for different operating systems
- In a
venvenvironment, everything must be installed usingpip, but Conda can manage stable deployments through package channels likeconda-forge
In scientific computing or machine learning environments, the ability to resolve conflicts with various external libraries is crucial, and Conda excels in these areas.
3. Differences Between Anaconda and Miniconda
| Item | Anaconda | Miniconda |
|---|---|---|
| Base Size | Very large (about 3–4GB) | Very small (hundreds of MB) |
| Included Packages | Includes numpy, pandas, matplotlib, Jupyter, etc. | Includes only Conda |
| Installation Time | Takes a long time | Quick |
| Target Audience | Beginners looking to start development immediately | Users needing lightweight installation and package selection |
Features of Anaconda
- Allows immediate data analysis after installation
- Includes visualization tools, Jupyter Notebook, etc.
Features of Miniconda
- Lightweight and fast installation
- Only installs what you choose → high flexibility
4. How Are Conda Environments Separated from the System?
Conda environments are created in completely separate directories from the base system. This provides the following advantages:
- Does not affect the system's Python environment
- Allows independent environment configuration for each project
- Easily reproducible environments by saving them as
.ymlfiles
Comparison with Docker
| Item | Conda | Docker |
|---|---|---|
| Level of Isolation | User level (virtual environment) | Operating system level (container) |
| Purpose | Package and library management | Full system isolation and deployment |
| Size | Relatively lightweight | Heavier |
| Execution Speed | Fast | Can be slow (especially when including image execution) |
Docker provides complete isolation, but Conda is lighter and easier to set up, making it sufficient for many data science tasks.
5. Installation Methods
How to Install Anaconda
- Download the installation file for your OS from https://www.anaconda.com/download
- Proceed with the installation using the GUI installer or CLI method
- After installation, you can use the
anaconda-navigatororcondacommands
How to Install Miniconda
- Download the installation file from https://docs.conda.io/en/latest/miniconda.html
- Set up the environment using
conda initandconda configafter installation
6. Upcoming Next Post
In this article, we explored the concept of Conda and the differences between the representative distributions, Anaconda and Miniconda. We also explained why venv may not be as suitable for scientific work as Conda.
In the next post, we will cover how to actually create and manage Conda environments, including the following topics:
- Creating environments with
conda create - Environment activation and deletion
- Overview of frequently used commands in Conda
So, let's move on to practical exercises in the next post!


There are no comments.