
Those who have found this post are likely looking to start deep learning development using GPU.
This article is a practical guide summarizing the process of preparing CUDA-based GPU computation in an Ubuntu environment.
It is particularly designed for beginners who want to follow along to check if "Is CUDA properly installed on my PC?"
If you're curious about what CUDA is, I recommend checking out the previous post What is CUDA? The Beginning of GPU and Parallel Computing first.

1. Why Should We Set Up a GPU Environment?
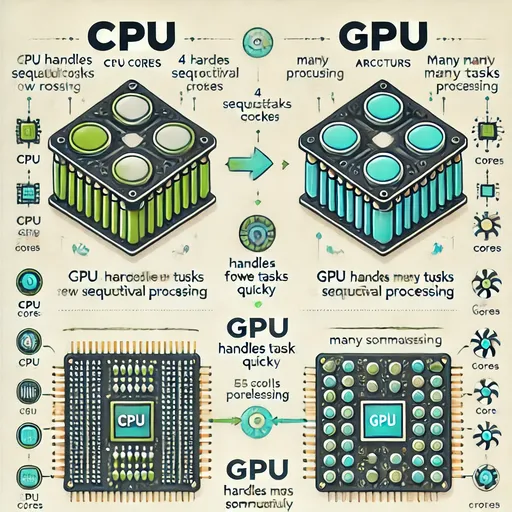
Training AI models requires a tremendous number of matrix operations.
These computations are performed much faster on GPUs, which are specialized for parallel computation, than on CPUs.
However, simply having a GPU is not enough.
You need a driver to inform the operating system about the GPU,
a CUDA installation to enable computations on the GPU,
and cuDNN, a library optimized for deep learning.
All three must be correctly installed for the GPU to be utilized.
2. Checking the Status of My GPU – Do I Have the Driver and CUDA Installed?
nvidia-smi
This is a tool that shows the current status of the GPU.
If CUDA Version is displayed and the GPU name is accurately shown,
it means that "the GPU is recognized correctly and the driver is installed."
3. CUDA Development Tools – Why Do We Need nvcc?
nvcc is the tool for compiling CUDA code (.cu).
To put it simply, it is the compiler needed to actually use CUDA.
sudo apt update
sudo apt install nvidia-cuda-toolkit
nvcc --version
4. cuDNN – The Secret Weapon for Fast Deep Learning Computation on GPU
cuDNN is NVIDIA's high-speed numerical computation library specifically for deep learning optimization.
It allows for fast and efficient GPU computations of operations such as
- Convolution
- Pooling
- RNN
- LSTM
- BatchNorm
- Activation
For anyone planning to use deep learning frameworks (like PyTorch or TensorFlow), it is an essential library.
You need to install the cuDNN package that matches your version of CUDA for the framework to effectively utilize the GPU.
The download path for the cuDNN package varies depending on the operating system and CPU architecture, so be sure to visit NVIDIA's official cuDNN download page to download and install the correct library for you.
When downloading cuDNN from the above link, please check your CUDA version that you confirmed earlier with nvidia-smi and install the matching cuDNN.
5. Testing – Let's Check if the GPU Works in Python
Once installed, let's verify if everything is working properly.
import torch
print(torch.cuda.is_available())          # True
print(torch.cuda.get_device_name(0))      # NVIDIA GeForce RTX  XXXX
6. Summary
| Component | Your Action | Why You've Done This |
|---|---|---|
| NVIDIA Driver | Check installation status (nvidia-smi) |
To recognize the GPU in the system |
| CUDA Toolkit | Install nvcc |
Compiler for executing CUDA code |
| cuDNN | Install cudnn-cuda-12 |
Library for optimizing deep learning operations |
| PyTorch Test | Verify GPU coordination | To check if real computations are possible |
7. Jesse's Conclusion
Your system is now prepared for GPU computation.
Based on this environment, you will be able to quickly train or run various models like Whisper, LLaMA, and ChatGPT on the GPU.


There are no comments.