Dropzone.js Mastery Guide
Goal
- Understand what Dropzone.js is and why it’s useful
- Learn installation, basic usage, and customization step by step
- Get practical code snippets and real‑world tips
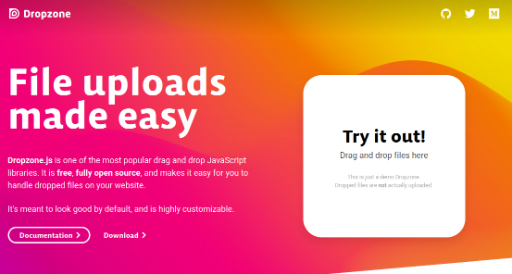
1. What is Dropzone.js?

Dropzone.js is an open‑source JavaScript library that makes HTML5 file uploads effortless. - Drag & Drop: Simply drag files with the mouse to start uploading. - Preview: Image files automatically show thumbnails. - Multiple Files: Upload several files at once. - Backend Integration: Send files via Ajax and handle responses.
Why use Dropzone.js? - User Experience: Intuitive UI for smooth uploads. - Developer Convenience: No need to write complex upload logic from scratch. - Extensibility: Options and events cover almost every requirement.
2. Installation
2.1 Using a CDN
The simplest way is to load it from a CDN. Add the following to your index.html.
<link rel="stylesheet" href="https://unpkg.com/dropzone@5/dist/min/dropzone.min.css" />
<script src="https://unpkg.com/dropzone@5/dist/min/dropzone.min.js"></script>
Tip: Check the latest version on unpkg.
2.2 With NPM / Yarn
If you’re using npm, install it with:
npm install dropzone
# or
yarn add dropzone
After installation, import or require it.
import Dropzone from 'dropzone';
Note: Always set
Dropzone.autoDiscover = false;to prevent automatic initialization.
3. Basic Usage
3.1 HTML
<form action="/upload" class="dropzone" id="myDropzone"></form>
actionspecifies the server endpoint for file uploads.class="dropzone"lets Dropzone automatically recognize the form.
3.2 JavaScript
Dropzone.autoDiscover = false; // Prevent auto‑init

const myDropzone = new Dropzone('#myDropzone', {
  paramName: 'file',          // Parameter name expected by the server
  maxFilesize: 5,             // Max file size in MB
  acceptedFiles: 'image/*',   // Allowed file types
  dictDefaultMessage: 'Drag files here or click to upload',
  init: function () {
    this.on('success', function (file, response) {
      console.log('Upload succeeded:', response);
    });
    this.on('error', function (file, errorMessage) {
      console.error('Upload failed:', errorMessage);
    });
  }
});
Key Options -
url: Target URL for uploads (can replaceaction). -maxFiles: Maximum number of files per batch. -uploadMultiple: Enable or disable multi‑file uploads. -autoProcessQueue: Whether to send files automatically (useprocessQueue()for manual).
4. Customization
4.1 Changing the Preview Style
Dropzone shows thumbnails by default. Use CSS to tweak the look.
/* Resize thumbnails */
.dropzone .dz-image img {
  width: 100px;
  height: 100px;
  object-fit: cover;
}

/* File name font */
.dropzone .dz-details .dz-filename {
  font-weight: bold;
}
4.2 Server Communication
The server should accept the file and return JSON. Example with Node.js + Express:
const express = require('express');
const multer  = require('multer');
const upload = multer({ dest: 'uploads/' });

const app = express();

app.post('/upload', upload.single('file'), (req, res) => {
  // File info is in req.file
  res.json({ success: true, filename: req.file.filename });
});

app.listen(3000, () => console.log('Server running on http://localhost:3000'));
Tip: The string
'file'must match theparamNameset in Dropzone.
4.3 File Deletion
Dropzone can send a DELETE request when a file is removed.
const myDropzone = new Dropzone('#myDropzone', {
  // ...
  dictRemoveFile: 'Delete',
  init: function () {
    this.on('removedfile', function (file) {
      fetch('/delete', {
        method: 'DELETE',
        body: JSON.stringify({ filename: file.upload.filename }),
        headers: { 'Content-Type': 'application/json' }
      });
    });
  }
});
5. Practical Tips
| Scenario | Solution |
|---|---|
| Limit files in multi‑upload | Use maxFiles: 10 |
| Show upload progress | Listen to the progress event |
| Cancel an upload | Call cancelUpload() |
| Retry on failure | Implement retry logic in the error event or use the retry option |
| Security | Include a CSRF token in the headers option |
6. Wrap‑Up
Dropzone.js delivers a powerful file‑upload UI with minimal setup:
- Initial setup: CDN or npm → autoDiscover = false → HTML form + JS instance.
- Customization: Use options, events, and CSS to shape the UI.
- Server integration: Pair with middleware like multer to store files and respond.
Next steps: dive deeper into multi‑file uploads and advanced preview styling to elevate the user experience.
Further Resources
- Official Documentation
- Example Code Repository
Happy coding! 🚀


There are no comments.